Lessmore joins Miniclip
Innovative game concepts and hit casual titles such as Eatventures and We Are Warriors further expand Miniclip's presence into new categories.


Innovative game concepts and hit casual titles such as Eatventures and We Are Warriors further expand Miniclip's presence into new categories.
Miniclip wins 'Best Mobile Publisher' at the Pocket Gamer Awards 2024.
Bringing in top puzzle titles like Sudoku.com, Pixel Art, and Blockudoku, marks a strategic expansion into the casual puzzle space.

The success of PowerWash has catapulted FuturLab into a genre leader and the talented team at FuturLab is a very welcome addition to our ever-growing Miniclip Group.

Why Portugal and TagusPark Oeiras are fast becoming a hub for the creative industry.
After months of renovations we are ready to give you a tour of our purpose-designed refurbished offices in the city of Zoetermeer.
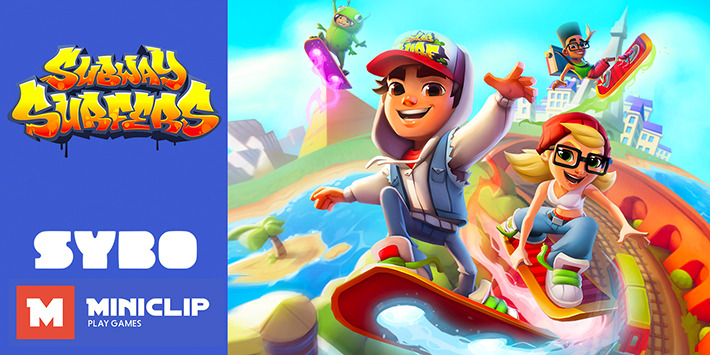
We're hugely excited to announce that SYBO and its mobile evergreen Subway Surfers have now become part of the Miniclip family.
The latest figure sets a new milestone for downloads across our wide range of mobile games.
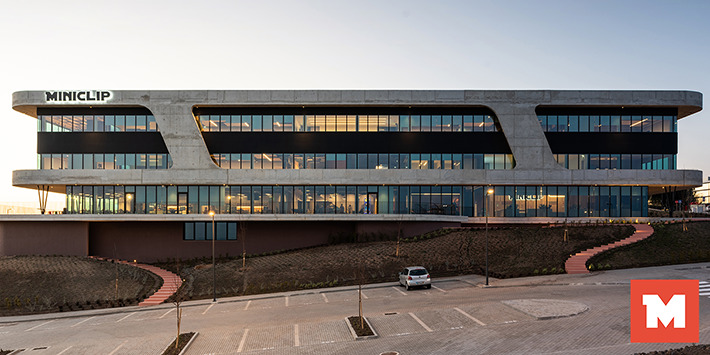
The opening marks our further expansion in Portugal.
Miniclip's Chief Creative Officer, Sérgio Varanda, on lasting success of 8 Ball Pool.
Miniclip is driven to create the best and most fun games for our millions of players all around the world, and we’re always on the lookout for more top talent to join our growing team. If you’d like to help us make great games and be a part of Miniclip’s bright future, we’d love to hear from you.